How to Install Solar Panels at Home
Installing solar energy is easier than it looks, but installation needs to be done by a qualified team. See this article for the step by step to install solar energy.…
Installing solar energy is easier than it looks, but installation needs to be done by a qualified team. See this article for the step by step to install solar energy.
Due to the constant increase in the electricity bill derived from using expensive and highly polluting thermoelectric plants in the Philippines, installing a solar energy generation system in the Philippines has become an excellent option for your pocket and the environment.
Installing solar energy in a home or business is already affordable for most people who pay a high electricity bill.
Step by step on how to install solar energy in the Philippines
In the 4 steps below, I will explain how to install residential or business solar energy, understand your light bill, calculate the cost of installing photovoltaic panels, and install solar panels on the roof.
Step 1: Understanding your electricity bill
The first step to starting your photovoltaic project and installing solar energy in your home or business is to analyze your electricity bill and consumption. Look at your electricity bill for your monthly consumption in kWh. Based on this number, you can calculate the “size” of your solar energy system.
TIP: To accurately calculate how much it costs to install solar energy, you must use the average monthly energy consumption, the average of the last 12 months.
Stop guessing at your number.
Send us your latest Meralco bill and we'll size a system properly and send an itemized quotation — free, within 24 hours.
Get my free quote →Step 2: Simulating your solar panel installation
Based on your monthly energy consumption shown on your electricity bill, you will be able to simulate the technical specifications of installing solar energy in your home or business. It’s simple, and all you have to do is contact a solar company installer and fill in your monthly energy consumption in kWh, your zip code, name, and email.
With just your consumption and your city, you can calculate the savings and payback time for your photovoltaic project to install solar energy, as well as the number of photovoltaic panels, the monthly generation of solar energy, and the area required for the installation of solar panels.
Step 3: budget and solar energy project for installing the photovoltaic panel
Now that you know your monthly energy consumption in kWh and the technical specifications for installing solar energy in your home or business, the next step is to request your free quote and determine how much your project costs.
Step 4: Installation of solar power system
Unless you are an experienced technician or engineer, I do not recommend attempting the installation yourself. There are two reasons why I do not recommend installing your solar panels:
- It’s dangerous, and you could get hurt in the process;
- To connect your system to your home or business, you will need authorization from your energy distributor, and only engineers and electrical technicians can apply for it.
The standard procedure is:
- Make a technical visit to your home or business and formalize the budget;
- Elaborate the solar panel installation project and send it to the distributor to advance the bureaucratic process of connecting your system to the grid;
- Install the solar energy system in the most suitable location;
- Approve the installation of solar panels with the distributor;
That’s it, you’re producing renewable energy with sunlight, and you no longer have to worry about electricity bill increases!
How is a solar energy system installed?
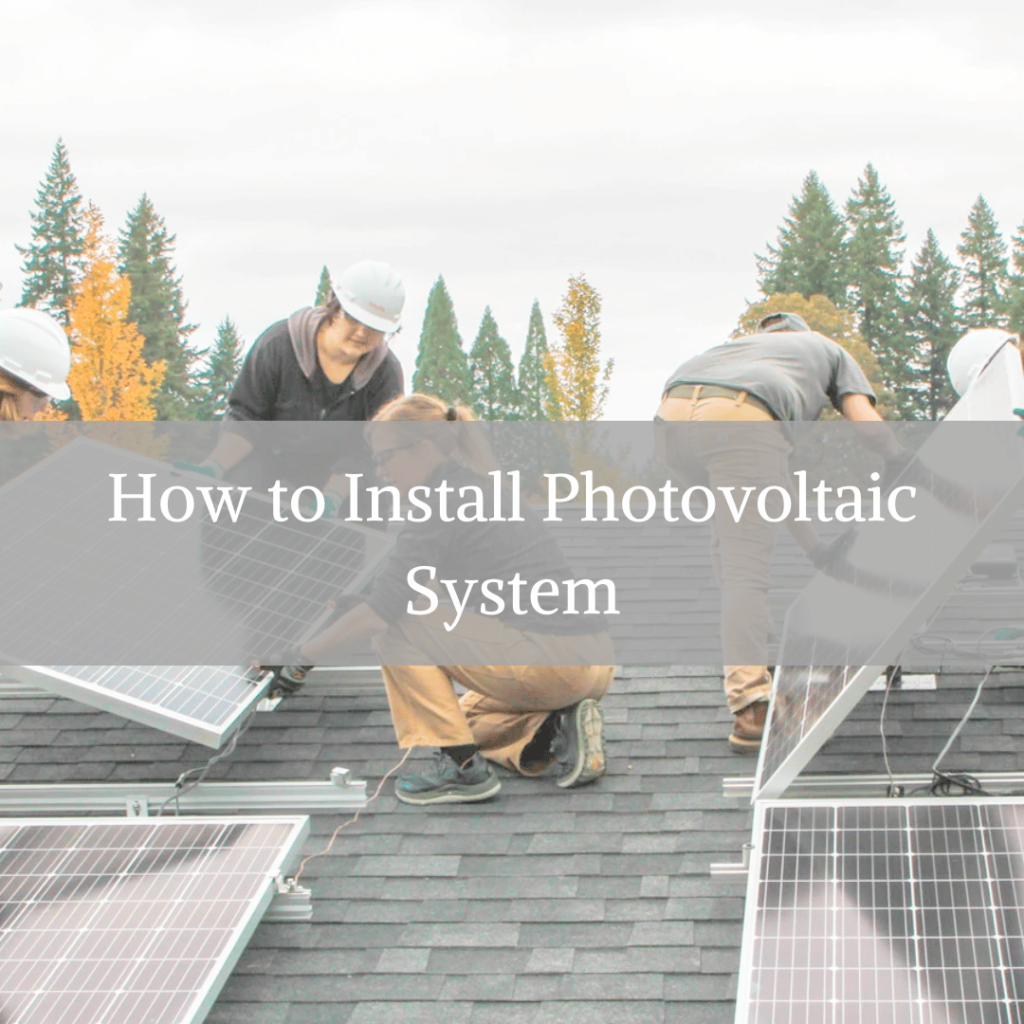
1. Preparing the installation site for the solar panels based on the layout designed for the system: the installation team climbs onto the roof of your home or business and draws where each solar panel will be allocated;
2. Installing the “supports” of the solar panels on clay roofs: the tiles are removed in the right places, according to the layout, and the “supports” are screwed in these points, generating the base for the system’s fixation. On metal roofs, installation is more straightforward, and the support is screwed through the metal tile itself, ensuring safety and protection against infiltration;
3. Installation of the “rails” where the solar panels will be fixed: the supports for the solar panel are all prefabricated, usually in aluminum. The rails are made to fit snugly into the brackets and provide an ideal location for attaching solar panels;
4. Install the solar panels on the rails and connect the cables: with the rails well fixed, it is time to install the panels in their proper place and connect the cables;
5. Connect the solar panels to the solar inverter and install the inverter into the electrical grid of your home or business: this is the final part of the installation, which only the electrician works on.
After installation and connection to the grid, the solar energy system is already producing electricity, and you start saving on your electricity bill immediately.
Equipment needed to install a solar panel
A solar energy kit is a composition of solar panels, string boxes, cables, connectors, inverters, batteries, and fastening structures, which together will generate solar energy to power your business, home, pumping system and anything else that uses electricity.
Maintenance of the solar energy system
Solar power system maintenance is minimal and low-cost, but it must be done. Maintenance consists of cleaning the solar panels every year or when the system has a drop in energy production.
This cleaning is simple and done the same way you clean a window: pass a cloth or squirt a little water so the plate will be clean of any dirt. The other part of maintenance is related to the solar inverter. Depending on the type of inverter you use, you will need to replace one or another part of it after 5-10 years.
In general, the impact of maintenance on energy costs is minimal and represents no more than 1% per year of the total system cost.
Safety Tips in the Installation of Solar Panels in the Philippines
Planning your solar panels’ installation before going up on the roof is essential. The following list is a compilation of essential information that needs to be considered:
- Will the roof structure support the weight of the solar panels, the fastening structure, and the workers and equipment needed during installation?
- Are there fragile roof elements? Like fiber cement shingles, skylights, or something that could break during an installation?
- Fixing system for solar panels. How will the brackets and rails be mounted and secured?
- How will installers be able to get on the roof, move around and get off safely?
- How will the installation equipment be taken to the roof, and where will it be during the installation of the solar panels?
- Will solar panel installers have to work on the entire roof, or can they only use one side?
- Have installers been adequately trained to install solar panels safely?
- What safety equipment will be used to prevent the roof from falling?
- What will stop one of the workers from sliding off the roof?
- How will it be handled if the wind is mighty and/or it is raining during the day of the installation?
- Will installers have access to the inside of the roof? If so, how safe will they be inside the roof?
- How will an installer be prevented from falling through a roof?
Protecting others while installing solar panels
- Design and maintain a secure access route for the occupant/owner.
- Maintain a security perimeter to keep people from the area below the installation.
- Protect the accesses used and the area around the installation from children.
- At the end of the installation of the solar panels, remember to remove any residue or burr that may be left (end of the fixing rails and others) that could hurt someone after the installation has been carried out.
Installing solar panels in high places safely
This establishes the minimum requirements and protection measures for work at height, Involving planning, organization, and execution to guarantee workers’ safety and health during solar panels installation in high places.
Making the electrical installation of solar panels safely
This establishes the minimum requirements and conditions of control measures and preventive systems to guarantee the safety and health of the workers who are installing the electrical part of your photovoltaic system, including the solar inverter.
Hoisting solar panels onto the roof safely
Solar panels, used in installations in homes and businesses, are heavy and expensive. Standard solar panels weigh around 19kg each, so you must plan how they will be moved to the installation site. Some points to consider:
- Never exceed the safe load (weight) of any equipment you use to lift the panels.
- Make sure the platform you will be lifting the panels from can support the weight of the workers and the panels together.
- If it is possible to take separate parts to the roof and assemble them there, then do it. In this way, you reduce the weight when lifting the parts that make up the photovoltaic solar system.
- Ensure that the method used to get the panels to the installation site does not put installers at risk.
Future maintenance and secure access to the solar panel installation site
- Is the installation being planned, leaving room for possible maintenance on the roof? Ex: how can flashings, ridge tiles, and antennas be reached after the installation of solar panels?
- Larger installations may have fall protection systems. Do the necessary regular maintenance and keep it in good order. Only use them if there is a record of maintenance done on this system.
- Install safety switches and circuit breakers to be accessed quickly and safely.
– Be sure to hand over the PV system documents and operation and maintenance manuals to the customer/owner when the installation is finished.
Get a real number for your roof.
Send your latest Meralco bill and we'll size a system and come back with an itemized quotation — free, within 24 hours.