Rules for Solar Panel House Design
If you are in the construction or planning phase for your house in the Philippines, some details can be provided in the project to facilitate the installation of solar panels.…
If you are in the construction or planning phase for your house in the Philippines, some details can be provided in the project to facilitate the installation of solar panels. Follow this quick guide to get your house ready for solar panels.
Photovoltaic solar energy has the benefit of versatility. You can install solar energy without significant changes if you already have a property. But if you are building a property, you can do the planning to facilitate the installation, making the process simpler and more efficient.
To make the dimensioning of solar energy in the construction of the property, it is necessary to consider factors such as available area, positioning of solar panels, size, and weight of panels, location of the solar inverter, and grounding of the photovoltaic system.
The best types of coverage for photovoltaic systems for your house
Photovoltaic panels are attached to the roof using a fastening system. Each type of roof requires a different fastening system. The fixing system represents an integral part of the budget; therefore, the type of roof must be considered when preparing a property to receive solar energy.
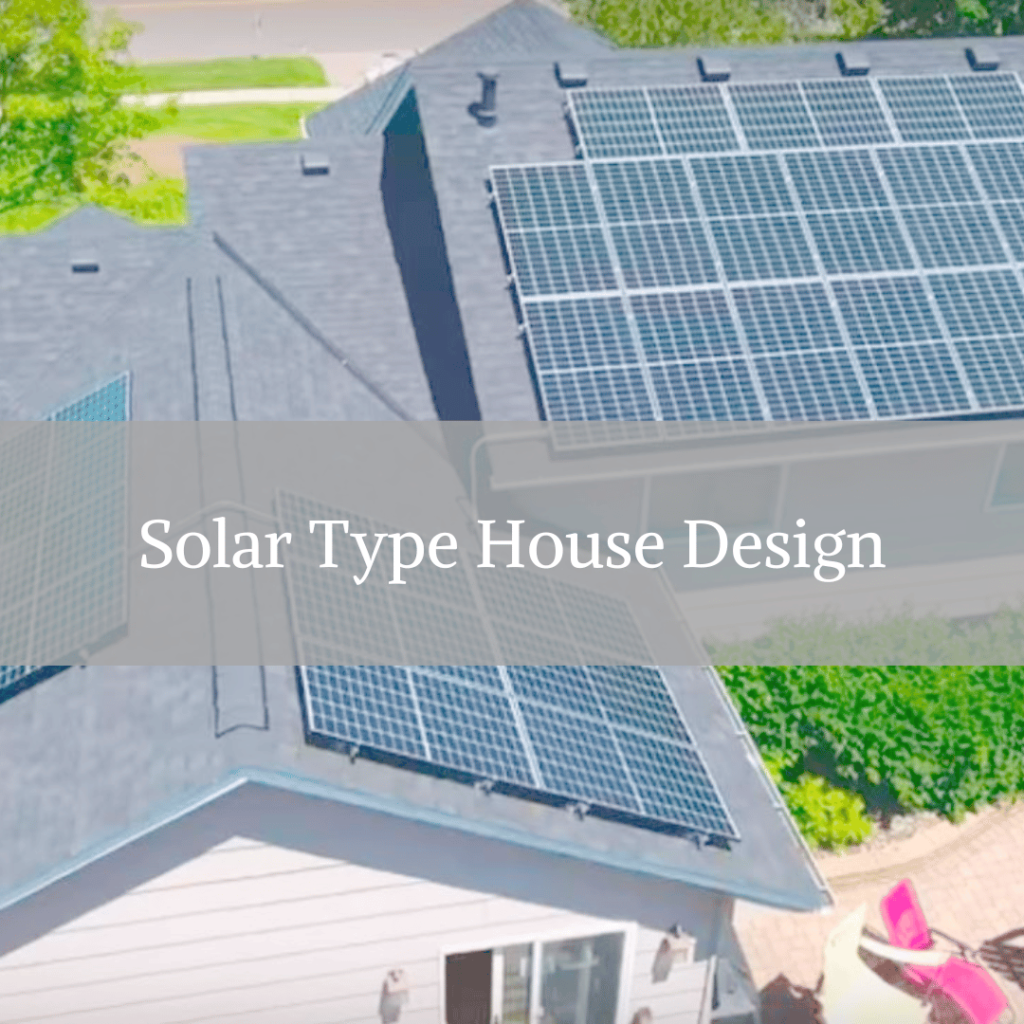
Metal tile roofs, such as standard trapezoidal and thermoacoustic roof tiles, and “shingle” tile roofs are the best options for installing photovoltaic panels. These covers facilitate attachment and are safe surfaces for installation.
The clay/concrete tiles of the French or cover-canal types are the second best option. They require some handling to install, but nothing that makes their installation unfeasible.
Fiber cement tiles (known as “Eternit”) bring some problems in the installation process as they are fragile and can break during the process. They usually ask for a system to fix the panels independently of the tiles.
Finally, flat roofs such as slabs and prefabricated concrete tiles are great surfaces for installation. The fixing system for flat roofs compensates for the low slope of the roof to ensure that the panels have better sunlight.
The three traditional ways of fixing solar panels on slabs are:
Structure bolted to the slab (requires waterproofing).
Glued with special glues (needs to be well made to last 25 years)
Ballast and Wind Deflector on the back of the solar panel.
Stop guessing at your number.
Send us your latest Meralco bill and we'll size a system properly and send an itemized quotation — free, within 24 hours.
Get my free quote →1. The position of the tiles on the roof
The optimal angle to produce the maximum energy with photovoltaic panels is the north face, with a degree of inclination equal to the latitude.
In practice, you won’t always get the perfect pitch and steering. Don’t worry! The loss of energy production is small and acceptable but you can always use a solar battery to store your solar energy. You can install your panel anywhere on the roof except in south-facing areas. Most importantly, it gets as much sun without shadows during the day.
2. The layout of the photovoltaic system – Size of the panels
The golden rule for laying out a photovoltaic solar energy system. Always use even numbers of panels. In addition to being prettier, it will be easier to configure the photovoltaic inverter. In a simplified way, nowadays, two sizes of solar panels are primarily used in homes, industries, and power plants. Are they:
– Panels of 270, 275, 280, and 290Watts all have 60 cells and traditionally measure 166cm high by 99cm wide and 4 to 5cm deep.
– Panels from 330, 335, 340, to 375 watts all have 72 cells and traditionally measure 198cm high by 99cm wide and 4 to 5cm deep.
– Power variations are related to cell efficiency. More efficient cells result in a panel that generates more energy per m². If you have less area, buy a more efficient solar panel to take advantage of the available area. TIP order panels with Mono-PERC technology, the best available today.
– Most companies prefer to work with 72-cell panels. That is, consider 72-cell panels in your diagram.
3. Make sure your structure is dimensioned for the weight of the panels
The photovoltaic panel is not very heavy. Almost all roofs and slabs are prepared to receive this additional load. But depending on the type of structure, you may need reinforcement.
Generally speaking, the added load is approximately 15 kg/m². On roofs with metallic coverings, such as standard trapezoidal or thermoacoustic tiles, the weight can drop to 13.5 kg/m². The weight will vary mainly with the type of fastening structure used.
Arrangements of Photovoltaic Panels exposed to the wind (mounted on the ground or elevated support structures) receive extra loads of 70 kg/m2 due to wind speed. In some high regions or close to the coast, speeds can reach up to 150 km/h, so you must ensure that the fixing structure is used to fix the panels on the roof.
4. The place where the inverter will be installed
The inverter is an electronic device. It is, therefore, essential to protect it from moisture or direct sunlight. Some are designed to be outdoors, but the greater the protection, the longer it should last. It is also essential that the inverter is close to your power distribution panel – this will make a connection to the grid and maintenance much more accessible. Easy access also prevents the inverter from getting behind furniture or objects.
The inverters in a house occupy space from 70cm x 50cm x 25cm to 80cm x 55cm x 25cm (Height, Width, Depth). Be sure to leave space around it for easy ventilation and access.
Inverters for large generators, such as in industries and logistic warehouses, take up more space. If you work with central inverters (large inverters) instead of string inverters (small inverters), leaving a space of approximately 2.2m x 0.7m x 0.7m for each 50kWp will be necessary. In a 500kWp power plant, you must leave a free wall at least 8m long and 2.2m high to place the inverters.
Where to install the solar inverter
Note: you don’t need to put all inverters together. They can be distributed throughout your warehouse/factory and connected at different points in your internal network.
5. Conduit and connection to solar panels
It is essential to have a conduit that runs between the inverter and the solar panels on your roof. Solar panels generate a high voltage, so it is essential to identify and separate the wiring from this circuit to the inverter.
This conduit can be exposed or embedded (conduit). In homes, consider that up to 4 cables of 6mm must come from the panels (roof) to the inverter (near the light panel). It is also important to provide a switch/circuit breaker box independent of the panel. This will facilitate future inspections and repairs.
Note: In warehouses and industries, you must leave cable trays available.
6. Grounding of the photovoltaic system
All photovoltaic systems must be grounded for safety. Traditionally, the panels are grounded to the structure and the structure to the grounding grid of the house or enterprise. So, to make it easier, leave a grounding point on the roof where the panels will be installed to facilitate the process.
Always consult and hire companies specialized in installing photovoltaic solar energy. They know which systems work best and have staff trained for this type of work.
Lastly, particularly important when designing a solar home is the layout of the site and the correct orientation. For effective use of solar radiation, the southern wall or roof of a residential building should be exposed to direct sunlight from 9.00 to 15.00, even on the most unfavorable day.
To do this, the sun-perceiving facade should be oriented to the south with a deviation of 10..20°. In close urban development, there is a legal problem of protecting the southern facades of solar houses from shading.
Get a real number for your roof.
Send your latest Meralco bill and we'll size a system and come back with an itemized quotation — free, within 24 hours.